Welcome to Vigor – Outlander's Guide
Welcome to post-war Norway, Outlander! Central Europe is ravaged, and nuclear fallout has made it uninhabitable. Luckily, northern countries are still rather safe, if you don’t mind the occasional radioactive dust storms, scarce resources, and other Outlanders – who can sometimes be unpredictable. Yeah, this is a harsh place, but if you follow these tips, they will help you stay alive and become a successful Outlander.
Shoot, Loot, Build, and Become
Your main objective is to scavenge various locations for loot and equipment, which will help you to build your shelter, craft better weapons, and become a successful Outlander who will be able to face every danger. Will you shoot your way out or avoid a fight?
Check your loadout
Before you head into the Outlands, be sure you are properly equipped. Yes, you can find ammo, weapons, and healing consumables in the wilds, but they are scarce, and you don’t want to face hostile Outlanders with empty hands. Pick a suitable weapon from the shelter stash, remember to grab some compatible ammunition (its icon is in a solid color), and throw in a few healing consumables (you should have access to Disinfectant from the start). However, it is a viable option to go into Encounters bare-handed for supply runs, but in this case: be quick, stealthy, and avoid unnecessary risks.
Explore the map
Every time you enter a new location, spend some time checking the map. Important places like the Airdrop area, Barred House, Comm Station, and Signals Detector are marked on the map, together with various points of interest (POI). It is a good idea to uncover all POIs to check which resources and equipment can be found there. It will help you when you are looking for specific resources needed to upgrade your shelter.
Set your goals
After you get acquainted with the map, it is important to set your goals. Do you just need resources for your shelter? Or are you striving for the Airdrop? Based on this decision – and your current equipment – you should plan your way across the map. But don’t forget – while the Airdrop and Barred House contain the sweetest rewards, they are also marked on the map so you can expect to run into other Outlanders also after the loot. It is perhaps a better idea to fight for the Airdrop and Barred House when you get to know the area more, have better weapons, and have improved your skills. Also, don’t forget that getting the valuable stuff is only the first step – you also need to get out alive with it. Be aware of all possible exit areas; they are marked with an orange icon on the map.
Beware the radiation
A few minutes after the Airdrop hits the ground, a radiation dust storm will blow into the area. The direction of the storm is marked on the map (look for wavy arrows). If you linger in the area for too long, radiation will catch up to you. You will know this thanks to strong Geiger counter sounds and on-screen visuals. Staying in radiation will gradually lower your max health, until you die. Radiation effects can’t be healed by healing consumables. As was noted in the previous tip: know the location of exit areas so you can leave safely and keep all your loot.
Don’t be trigger-happy
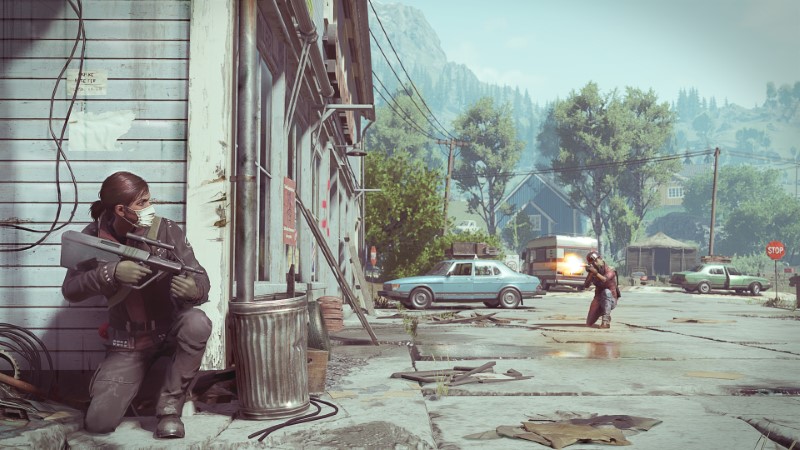
There are dozens of authentic weapons in Vigor, each with its own pros and cons. Sway, spread, recoil, rate of fire, bullet drop, weight… those are just a few of the parameters which influence how the gun handles. You can get a feel for each weapon by using the shooting range in the shelter. When you acquire a weapon for the first time, a new set of shooting range challenges will unlock. In actual combat, use an appropriate weapon type for the situation – shotguns are ideal for close quarters combat encounters in Grøntheim, while sniper rifles will be best used in open terrains, like Fjellkanten – but don’t forget, scope glint can reveal your position. Before you engage the enemy, it's best to be in cover and ideally in a low stance (crouch or prone), as your aim will be steadier. Sometimes it makes more sense to not fight at all, which is also a valid tactic.
Unravel the secrets of loot position
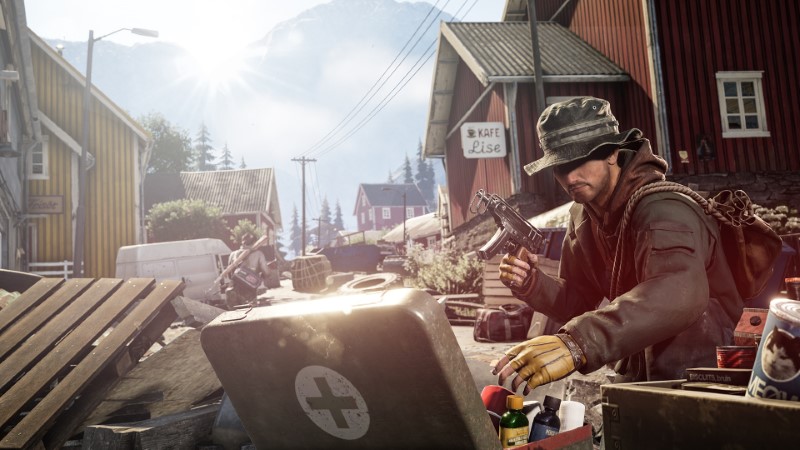
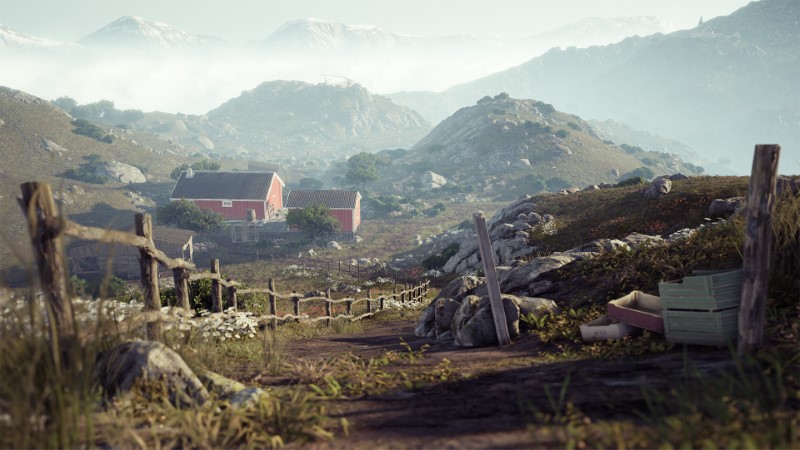
In the beginning, it could seem that loot is just randomly found in the encounter. While there is indeed some randomization, certain rules are applied. Number one: the majority of loot can be found near points of interest. That doesn’t mean there is nothing in the distant corners of the map – if you are a thorough explorer, you will find valuable resources in a lot of hidden places. Sometimes, loot could even be in a box locked by a combination. If you find it, just turn the dials until you hear a sound and feel haptic feedback. Various types of resources are found in logical places: fuel near vehicles, metal parts in a garage, etc... just be patient and you will uncover the rules. One last point: the amount of loot in encounters can be influenced by Loot Boosters (applicable in the lobby) – if you have some spare hard currency, buy the Loot Boosters and maybe other Outlanders will join in too.
Don’t be frustrated by death
Encounters can be unpredictable and one stray bullet could be all it takes to put you out of action. If you die, you will lose everything you had in your backpack – all weapons, ammo, consumables, and resources. But you will keep some of the items’ value in material, so you will be able to craft new weapons and try again. Don’t be afraid to use weapons – you have access to a few weapon plans from the start, and you can find additional guns and weapon parts in encounters, so you can easily avoid being defenceless. And, as it was stated before, it is also a valid strategy to go on quick resource runs without any weapons. Just be careful.
Improve your shelter
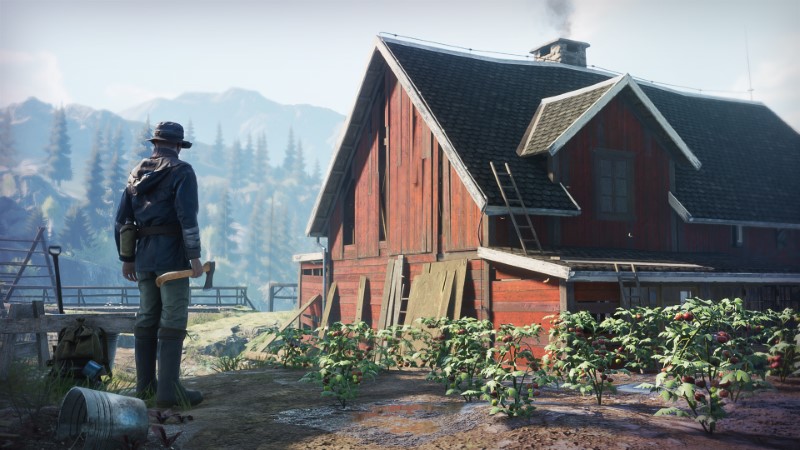
The shelter is your haven. A place where you are safe; where radiation will never reach. From the shelter you head out into encounters. You can and should improve your shelter. Various types of improvements are available to build. Some will generate crafting materials or food, others will help you to build faster, and so on. A few tips for important improvements: Crafting table tools allows you to craft weapons and consumables. You need a plan and a specific Crafting level to be able to craft better weapons and consumables. Another cool improvement is the Antenna, which generates a small amount of hard currency. And if you want to get serious about building improvements, don’t forget about the Electric Generator. It allows you to build multiple improvements.
Play it your way
In the end, it is up to you how you will play Vigor. Will you be a stealthy Outlander, who carefully loots the outskirts of areas and engages others only when necessary? Or will you go in guns blazing and fight for the Airdrop? Will you play alone or with a friend? Will you try to find a new friend when playing with a random Outlander? All is possible and there is so much more to discover in Vigor!
